Sublimation on metal sheet is a popular printing technique that creates vibrant, long-lasting designs. Whether you’re a hobbyist or a professional, this guide will walk you through the process step by step.
What Is Sublimation on Metal?
Sublimation printing transfers dye onto metal sheets using heat and pressure. The ink turns into gas and bonds with the metal, resulting in a permanent, high-quality image. This method is ideal for photo prints, signage, and custom decor.
Benefits of Metal Sublimation
- Durable – Resistant to scratches and fading
- Vibrant Colors – Produces sharp, bright images
- Versatile – Works on coated aluminum, steel, and other metals
Materials Needed for Sublimation on Metal
Before starting, gather these essential supplies:
- Sublimation printer & ink – Special dye-sublimation ink is required
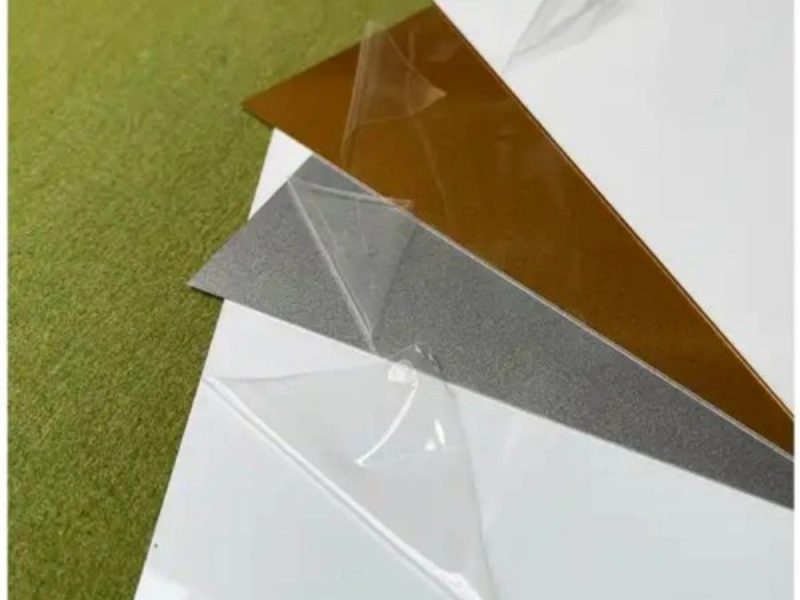
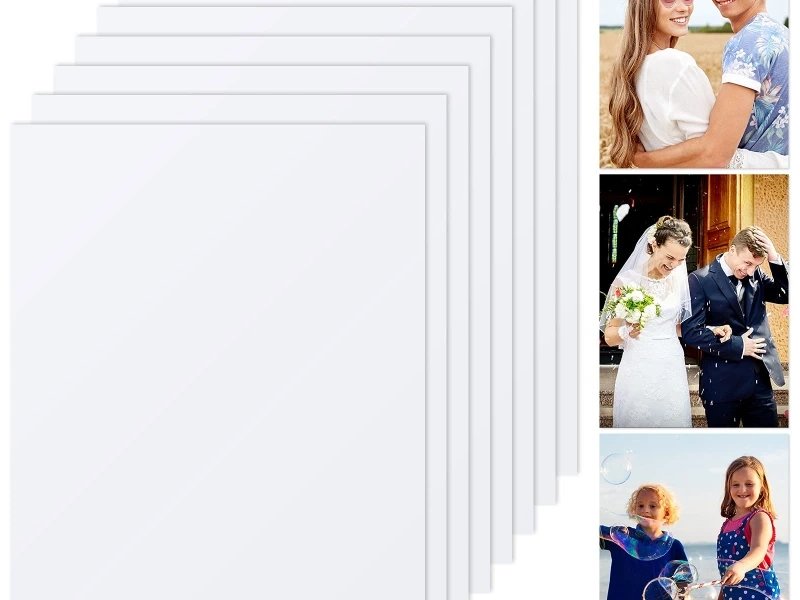
- Metal sheets with polymer coating – Only coated metals work for sublimation
- Heat press – A flat or mug press (temperature: 380°F–400°F)
- Heat-resistant tape – Secures the design in place
- Protective paper – Prevents ink from smudging
Your Easy Guide to Stunning Metal Prints
Sublimation is a truly amazing printing method that lets you transfer full-color images onto many different surfaces. When we talk about “sublimate on metal,” we’re talking about making vibrant, durable prints that stand out. This process uses special inks that turn into a gas when heated. This gas then bonds with a polymer coating on the metal surface. The result is a stunning, high-definition print that is truly part of the metal, not just sitting on top of it.
Why choose to sublimate on metal? Because it offers incredible durability and brilliant, lifelike colors. Unlike traditional prints that can fade or scratch easily, metal prints made with sublimation are resistant to scratches, water, and UV light. This makes them perfect for both indoor and outdoor use. If you want to create beautiful, long-lasting art, photos, or signs, learning how to sublimate on metal sheets is a fantastic skill to master.
What You Need for Metal Sublimation
Before you start, gather all your supplies. Having everything ready will make your sublimation on metal sheets project much smoother.
Essential Equipment
- Sublimation Printer: This is a special printer that uses sublimation inks. Regular inkjet printers won’t work for this process.
- Heat Press: A heat press is crucial. It applies both heat and pressure evenly, which is necessary for the ink to transfer from the paper to the metal. You’ll need one large enough for your metal sheets.
- Computer with Design Software: You’ll use this to create and prepare your images. Programs like Adobe Photoshop, Illustrator, or even free options can work.
Key Materials
- Sublimation Ink: These unique inks turn into a gas under heat. They are designed specifically for the sublimation process.
- Sublimation Paper: This paper is coated to hold the sublimation ink and release it efficiently under heat. Do not use regular printer paper.
- Metal Blanks: This is perhaps the most important material. You need metal sheets that are specially coated with a polymer layer. Without this coating, the sublimation ink will not bond to the metal. These are often called sublimation metal blanks.
- Heat-Resistant Tape: This tape is used to secure your printed design to the metal blank. It’s designed to withstand high temperatures without leaving residue.
- Protective Paper: This includes parchment paper or butcher paper. You’ll use it to protect your heat press from excess ink and to ensure even heat distribution.
Step-by-Step Guide: Sublimating on Metal
Now that you have your tools and materials, let’s get into the exciting part: the sublimation on metal sheets process itself.
Step 1: Design Your Image
Your image is where it all begins.
- Choose High-Resolution Images: For the best metal prints, always use high-resolution images. The clearer your image, the better it will look on the metal.
- Mirror/Flip Your Design: This is a very important step! Sublimation transfers your image as a mirror image. So, you must always “mirror” or “flip” your design horizontally in your software before printing. If you don’t, your text or directional images will appear backward on the metal.
- Software Tips: Use your design software to size your image correctly for your metal blank. Also, consider color profiles for accurate color reproduction.
Step 2: Print Your Design
Once your design is ready, it’s time to print.
- Use Sublimation Paper and Ink: Load your sublimation paper into your sublimation printer. Make sure your printer is filled with sublimation ink.
- Proper Printer Settings: Adjust your printer settings for the best quality. Often, you’ll want to select a high-quality print setting and the correct paper type.
Step 3: Prepare Your Metal Blank
Proper preparation ensures a clean transfer.
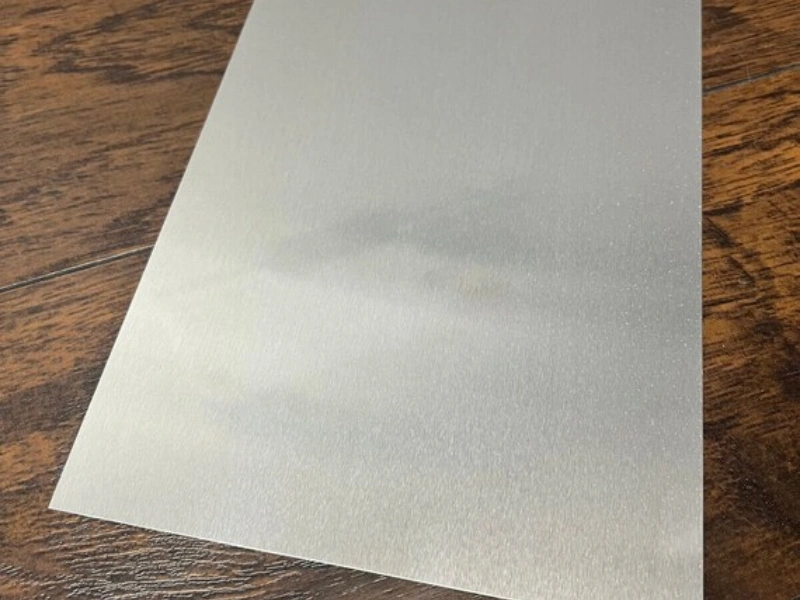
- Clean the Surface: Gently wipe your sublimation metal blank to remove any dust, fingerprints, or smudges. A lint-free cloth and rubbing alcohol can be effective.
- Secure the Printed Image to the Metal Blank: Place your printed design (image side down) onto the coated side of your metal blank. Use heat-resistant tape to secure the paper in place. This prevents the paper from shifting during the heat press process, which could cause ghosting or blurriness.
Step 4: Heat Press Sublimation
This is where the magic happens for metal sublimation.
- Set Temperature and Time: Refer to the instructions for your specific metal blanks and sublimation ink, as settings can vary. However, a common temperature range for metal is usually around 380-400°F (193-204°C) and a time of 45-75 seconds.
- Proper Pressure: Apply firm and even pressure with your heat press. Too little pressure can lead to uneven transfers, while too much can sometimes damage the coating.
- Layering: Arrange your layers on the heat press bed:
- A layer of protective paper (on the bottom).
- Your metal blank with the sublimation paper taped to it (metal side down, print side up, facing the heat platen).
- Another layer of protective paper on top (to protect the heat platen).
- Press It! Close the heat press and start the timer.
Step 5: Reveal Your Masterpiece
Once the time is up, carefully open the heat press.
- Carefully Remove from Heat Press: The metal will be very hot. Use heat-resistant gloves.
- Allow to Cool: Gently peel off the sublimation paper. The image is now permanently infused into the metal! Allow the metal print to cool completely before handling it excessively.
Tips for Successful Metal Sublimation
To ensure the best results when you sublimate on metal:
- Use High-Quality Materials: Investing in good sublimation ink, paper, and metal blanks will pay off in superior print quality.
- Test Small Pieces First: Especially when trying new materials or settings, do a test run on a small scrap piece of metal. This helps you dial in the perfect temperature and time.
- Calibrate Your Heat Press: Ensure your heat press provides even heat and pressure across its surface. Hot spots or cold spots can ruin a print.
- Ensure a Clean Work Area: Dust and debris can get trapped under your print, causing imperfections. Keep your workspace clean.
- Safety Precautions: Always use heat-resistant gloves when handling hot items from the heat press.
Applications of Sublimated Metal Sheets
The beauty and durability of metal prints make them ideal for a wide range of uses. Knowing how to sublimate on metal sheets opens up many creative and business opportunities.
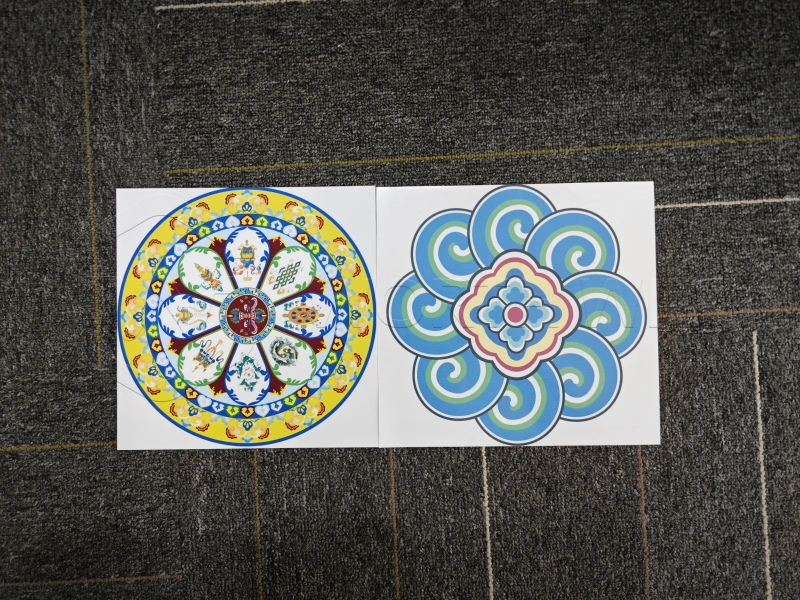
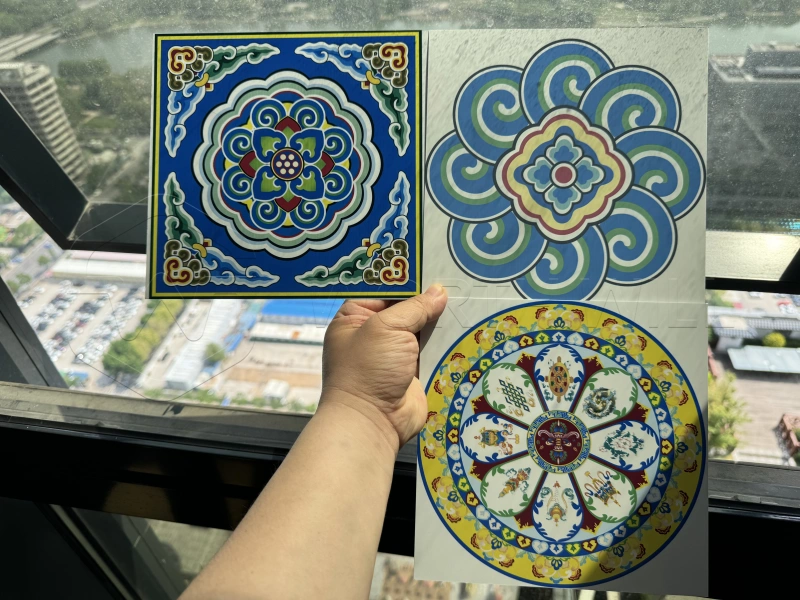
- Wall Art and Decor: Create stunning, vibrant photo panels and art pieces for homes and offices.
- Photo Panels: Preserve cherished memories on high-gloss or matte metal prints that last for decades.
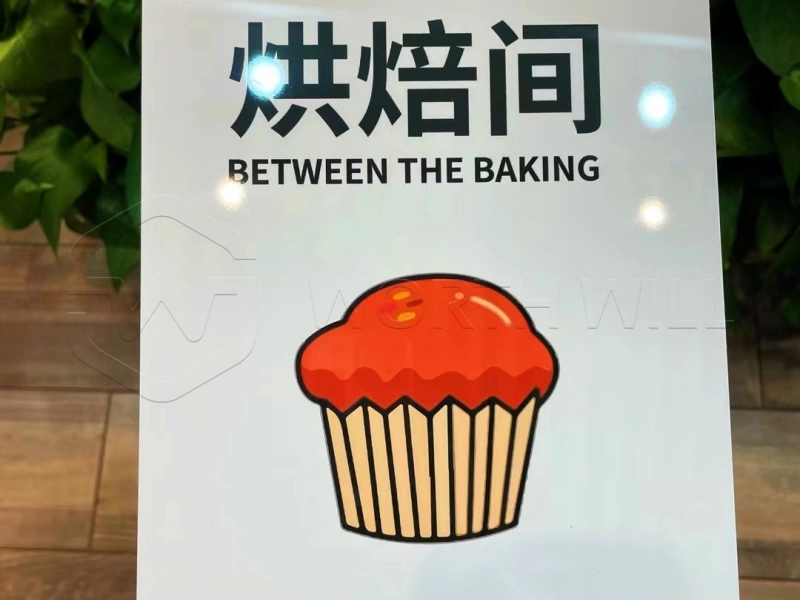
- Signage and Displays: Produce durable and attractive indoor or outdoor signs for businesses, events, or informational purposes.
- Jewelry and Keychains: Design custom, personalized jewelry pieces or keychains with intricate details.
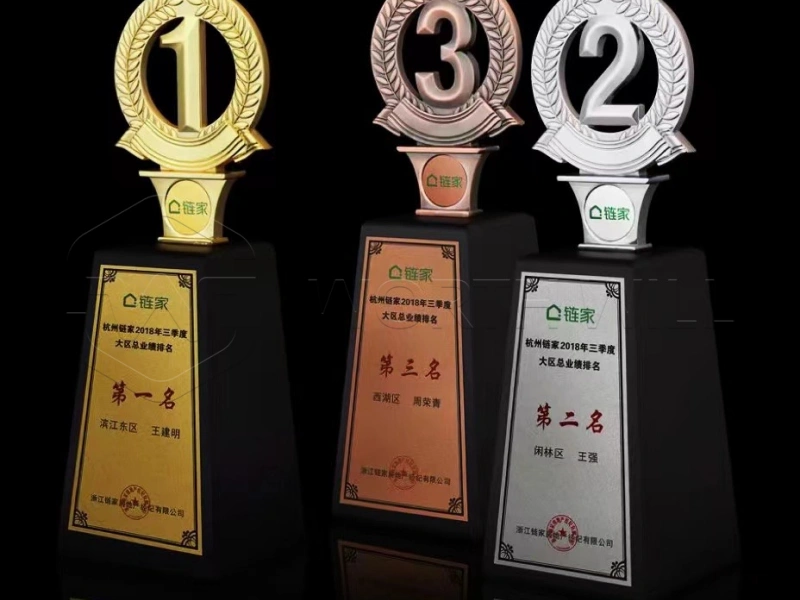
- Name Tags and Awards: Make professional and eye-catching name tags, badges, or elegant award plaques.
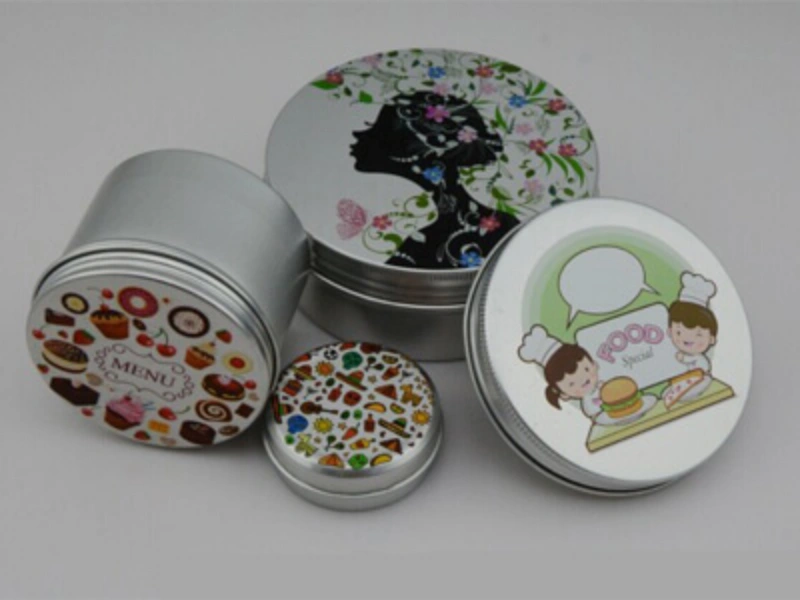
- Custom Gifts: Offer unique, personalized gifts like coasters, cutting boards, or other metal-based items.
Why Choose Metal Sublimation?
Beyond just creating beautiful images, there are several compelling reasons to embrace metal sublimation:
- Durability and Longevity: As mentioned, these prints are incredibly tough. They resist scratches, fading, and water, making them ideal for long-term display.
- Vibrant Colors and Sharp Details: The sublimation process embeds the dyes into the coating, resulting in incredibly vibrant colors and sharp, crisp details that often exceed traditional photo paper.
- Scratch and Fade Resistance: Your metal prints will look great for years, even in challenging environments.
- Unique, High-End Finish: The sleek, modern look of metal combined with the rich, deep colors of sublimation creates a premium product that is truly impressive.
Conclusion
Learning how to sublimate on metal sheets is a rewarding journey that combines creativity with technical skill. From preparing your design to carefully using the heat press, each step contributes to a stunning final product. With the right equipment, materials, and a bit of practice, you can create breathtaking metal prints that are vibrant, durable, and truly unique.
Whether you’re looking to make personalized gifts, beautiful art for your home, or professional signage, sublimation on metal offers an exciting and versatile solution. Dive in and start creating your own magnificent metal prints today!
Leave a Reply
You must be logged in to post a comment.