Are you curious about how to sublimate an image to aluminum? You’re in the right place! This technique lets you create super vivid, strong, and beautiful prints on metal. Forget old-fashioned prints that fade or scratch easily. Sublimation printing on aluminum makes your images part of the metal itself, ensuring they last a very long time.

What You Need: Essential Tools and Materials for Aluminum Sublimation
Before you can sublimate an image to aluminum, you need to gather the right tools. Having everything ready makes the process smooth and successful.


| Item | Purpose | Key Features to Look For |
|---|---|---|
| Sublimation Printer | Prints your design with special inks. | Converted inkjet (e.g., Epson EcoTank series) or dedicated sublimation printer (e.g., Sawgrass). |
| Sublimation Inks | Special inks that turn into a gas when heated, bonding with the aluminum coating. | Must be compatible with your sublimation printer. High-quality inks give better colors. |
| Sublimation Paper | A special paper designed to hold the sublimation ink and release it perfectly under heat and pressure. | High release rate, quick-drying. Avoid regular printer paper. |
| Heat Press | Applies the heat and pressure needed to transfer the image. | Clamshell: Good for flat items. Swing-Away: More even pressure, less chance of scorching. Flatbed is ideal. |
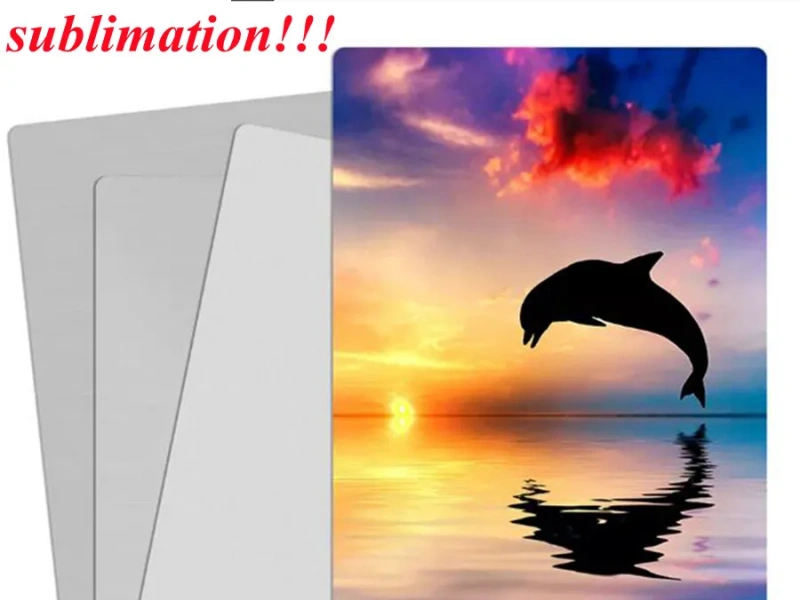
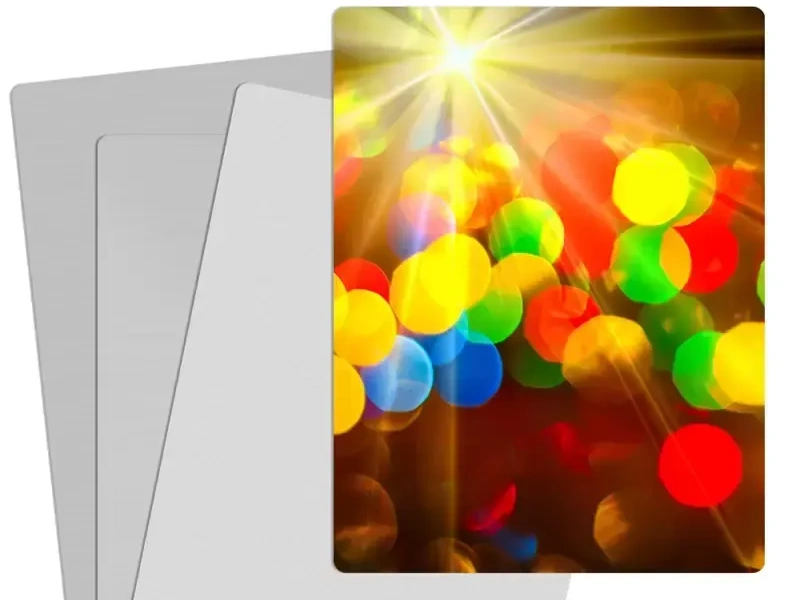
| Aluminum Sublimation Blanks | The specially coated aluminum sheet where your image will be transferred. | Coated specifically for sublimation. Available in various finishes (gloss, matte, brushed) and thicknesses. |
| Heat-Resistant Tape | Secures the sublimation paper to the aluminum blank to prevent movement (ghosting). | Withstands high temperatures without leaving residue. |
| Butcher Paper (or Kraft Paper) | Protects your heat press and aluminum blank from excess ink and moisture. | Uncoated, unbleached, resistant to high temperatures. Place on top and bottom of your blank. |
| Heat-Resistant Gloves | Protects your hands when handling hot aluminum blanks. | Essential for safety as the aluminum gets very hot. |
| Lint-Free Cloth & Cleaner | For cleaning the aluminum surface before pressing to ensure no dust or debris affects the print. | Microfiber cloth, specialized sublimation cleaner (optional, but recommended). |
Step-by-Step Guide: How to Sublimate an Image to Aluminum
Ready to create your own amazing sublimated aluminum prints? Follow these simple steps carefully for the best results:
Step 1: Prepare Your Digital Design
First, create or choose the image you want to sublimate to aluminum. Use photo editing software like Photoshop or GIMP.
- Mirror Your Image: This is very important! You must mirror (or “flip horizontally”) your design before printing. If you don’t, your image will appear backward on the aluminum.
- Color Profile: Use the correct color profile for your sublimation printer and inks to ensure accurate color reproduction.
- Resolution: Make sure your image has a high resolution (at least 300 DPI) for a sharp, clear print.
Step 2: Print Your Design on Sublimation Paper
Load your sublimation paper into your sublimation printer.
- Print your mirrored design onto the bright white side of the sublimation paper. The ink will look dull on the paper, but don’t worry, it will be vibrant after sublimation.
- Let the print dry completely for a few minutes.
Step 3: Prepare the Aluminum Sublimation Blank
Now it’s time to get your aluminum sublimation blank ready.
- Remove Protective Film: Most sublimation aluminum blanks come with a clear plastic protective film on the coated side. Carefully peel this off.
- Clean the Surface: Using a lint-free cloth, gently wipe the surface of the aluminum to remove any dust, fingerprints, or debris. A clean surface is crucial for a flawless transfer.
Step 4: Set Up Your Heat Press
Turn on your heat press and set it to the correct temperature and time for sublimating to aluminum.
- Temperature: Typically between 190∘C and 205∘C (375∘F – 400∘F).
- Time: Usually between 45 and 90 seconds.
- Pressure: Medium to firm pressure is usually required.
These settings can vary based on your aluminum blank’s thickness and coating, and your specific heat press model. Always check the manufacturer’s recommendations first.
| Aluminum Type (Example) | Temperature (∘C / ∘F) | Time (Seconds) | Pressure |
|---|---|---|---|
| Standard Gloss Aluminum | 195/385 | 60 | Medium |
| Standard Matte Aluminum | 200/390 | 75 | Medium-Firm |
| Thicker Panels (1.2mm+) | 205/400 | 90 | Firm |
Note: These are general guidelines. Always test with your specific materials.
Step 5: Assemble and Press the Image
Carefully place your materials in the heat press.
- Bottom Layer: Lay a piece of butcher paper on the bottom platen of your heat press. This protects the platen.
- Aluminum Blank: Place your clean aluminum sublimation blank on top of the butcher paper, with the coated side facing up.
- Sublimation Paper: Position your printed sublimation paper onto the coated side of the aluminum blank, with the printed image facing down. Make sure it’s aligned perfectly.
- Secure with Tape: Use small pieces of heat-resistant tape to secure the sublimation paper to the aluminum blank. This prevents the paper from shifting and causing “ghosting.”
- Top Layer: Place another piece of butcher paper on top of the sublimation paper. This protects the top platen of your heat press.
- Press! Close the heat press and start the timer. When the time is up, open the press.
Step 6: Cool Down and Reveal Your Print
- Careful Removal: Wearing heat-resistant gloves, carefully remove the very hot sublimated aluminum blank from the heat press.
- Peel Paper: Immediately (but carefully!) peel off the sublimation paper. You will see your vivid design permanently infused into the aluminum.
- Cool Down: Let the aluminum print cool down completely on a flat, heat-resistant surface. Avoid touching the image area until it’s cool.
Key Considerations for Perfect Results When Sublimating to Aluminum
Achieving professional-quality sublimated aluminum requires attention to detail.
- Even Pressure: Ensure your heat press applies even pressure across the entire surface of the aluminum blank. Uneven pressure can lead to patchy or faded transfers.
- Temperature Consistency: A consistent temperature is vital. Cheaper heat presses can have “cold spots.” Consider a heat press with good heat distribution.
- Cleanliness: Reiterate the importance of a clean work area and clean materials. Dust and fibers can create imperfections.
- Ventilation: Sublimation produces fumes. Always work in a well-ventilated area or use an air purifier.
Troubleshooting Common Sublimation Issues
Even with the best preparation, sometimes issues arise. Here are quick fixes for common problems when you sublimate an image to aluminum:
- Ghosting: blurry edges or a double image.
- Fix: Use more heat-resistant tape to secure the paper. Make sure the aluminum is not bumped or shifted when opening the press.
- Faded or Dull Colors: Image lacks vibrancy.
- Fix: Check your temperature and time settings – you might need more heat or a longer press. Ensure your inks are fresh and your color profiles are correct.
- Uneven Transfer / Spots: Parts of the image are missing or lighter.
- Fix: Adjust heat press pressure for more even contact. Check for cold spots on your heat press platen. Ensure the aluminum blank is perfectly flat.
- Excessive Yellowing: Colors shift towards yellow.
- Fix: You might be over-pressing (too much heat or too long). Reduce time or temperature slightly.
Applications: What Can You Create with Sublimated Aluminum?
Once you master how to sublimate an image to aluminum, the possibilities are endless! Here are some popular sublimation applications:
- Stunning Metal Photo Prints: Turn cherished memories into vibrant, long-lasting art.
- Custom Wall Art & Decor: Create unique pieces for homes, offices, and galleries.
- Personalized Gifts: Custom plaques, awards, and decorative panels for special occasions.
- Durable Indoor & Outdoor Signage: Weather-resistant signs for businesses, events, and directions.
- Information Boards & Displays: Long-lasting visual aids for schools, museums, or corporate environments.
- Custom Coasters & Trivets: Practical and beautiful household items.
- Architectural Accents: Unique design elements for interior spaces.
Maintenance and Care for Sublimated Aluminum
One of the great benefits of sublimation onto aluminum is its durability.
- To clean your sublimated aluminum print, simply wipe it with a soft, damp cloth.
- Avoid harsh chemicals or abrasive cleaners, as these can damage the protective coating.
- For outdoor displays, periodic cleaning will help maintain vibrancy and prevent dirt buildup.
Start Sublimating to Aluminum Today!
Learning how to sublimate an image to aluminum is a rewarding skill. With the right tools, careful preparation, and attention to detail, you can transform ordinary aluminum blanks into extraordinary, vibrant, and incredibly durable works of art. The process is straightforward, and the results are truly impressive, offering a professional finish that stands out. So, gather your supplies, follow these steps, and unlock the amazing potential of sublimation printing on aluminum for your next creative project! Your vivid aluminum prints are just a few steps away.
Leave a Reply
You must be logged in to post a comment.