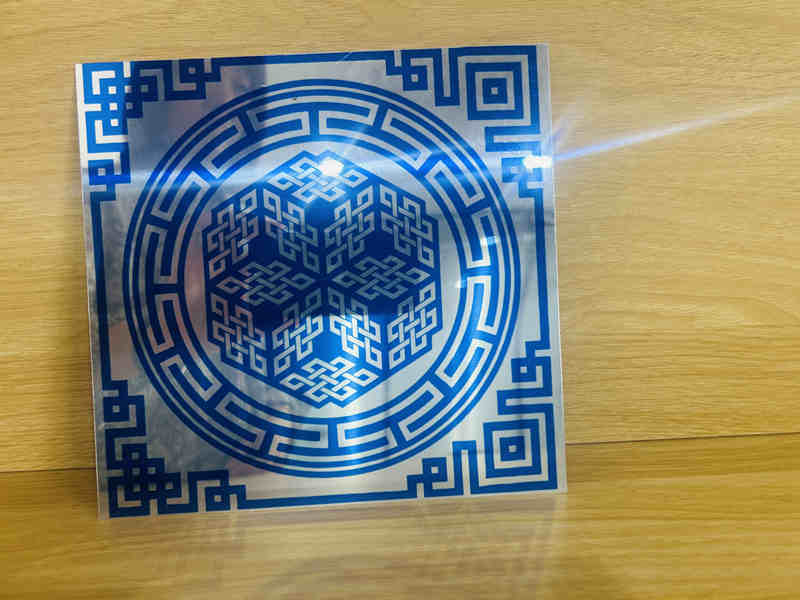
Sublimating on metal sheets is a fantastic way to create high-quality, vibrant prints for various applications, from personalized gifts to industrial signage. This process involves transferring dye onto specially coated metal surfaces using heat and pressure, resulting in durable and eye-catching images.
Step-by-Step Sublimation Process
1. Design Preparation
- Create Your Design: Use graphic design software to create your image. Make sure the design is in high resolution for the best print quality.
- Mirror the Image: Mirror your design before printing because the image will be transferred face down onto the metal sheet.
- Print the Design: Print your design onto sublimation paper using a sublimation printer with sublimation inks. Ensure the colors and details are accurate.
2. Preparing the Metal Sheet
- Clean the Surface: Wipe the metal sheet with a lint-free cloth to remove any dust or debris. This ensures a clean transfer.
- Position the Design: Place the printed sublimation paper face down on the coated side of the metal sheet. Align it carefully to avoid any misprints.
- Secure with Tape: Use heat resistant tape to secure the sublimation paper to the metal sheet. This prevents any movement during the heat press process.
3. Heat Press Settings
- Temperature: Set the heat press to around 400°F (204°C). This temperature may vary slightly depending on the specific requirements of your sublimation paper and metal sheet.
- Pressure: Adjust the pressure to medium-high. The pressure should be enough to ensure even contact but not too much to damage the coating.
- Time: Set the timer for 60-90 seconds. This duration can vary, so refer to the manufacturer’s guidelines for precise timing.
4. Pressing the Design
- Protect the Press: Place a silicone sheet or Teflon sheet on the bottom plate of the heat press. This protects the press from any ink bleed.
- Place the Metal Sheet: Lay the metal sheet with the attached sublimation paper on top of the silicone or Teflon sheet.
- Cover and Press: Cover the metal sheet with another silicone or Teflon sheet. Close the heat press and start the timer.
- Remove and Cool: Once the time is up, carefully open the heat press and remove the metal sheet. Use protective gloves as it will be very hot. Allow it to cool down completely.
5. Final Touches
- Peel Off Paper: After the metal sheet has cooled, peel off the sublimation paper to reveal your vibrant, high-resolution image.
- Inspect the Print: Check for any imperfections or areas where the transfer might not have been complete. A well-done sublimation should have even, vivid colors and sharp details.
-
Materials Needed
Before you start, gather the necessary materials:
- Metal Sublimation Sheets: These should be pre-coated with a special polymer to accept sublimation inks.
- Sublimation Printer: Equipped with sublimation inks.
- Sublimation Paper: Specially designed to hold sublimation inks.
- Heat Press: A machine capable of applying heat and pressure uniformly.
- Heat Resistant Tape: To secure the sublimation paper to the metal sheet.
- Protective Gloves: To handle hot items safely.
- Silicone Sheet or Teflon Sheet: To protect the heat press and ensure even pressure.
How to Sublimate on Metal Sheets
Sublimating on metal sheets is a straightforward process that can yield stunning, professional-quality results. By following this guide and using the right materials and equipment, you can create durable and vibrant prints that are perfect for a variety of applications. Whether for personal use or commercial projects, mastering the sublimation process on metal sheets will open up a world of creative possibilities.


Leave a Reply
You must be logged in to post a comment.